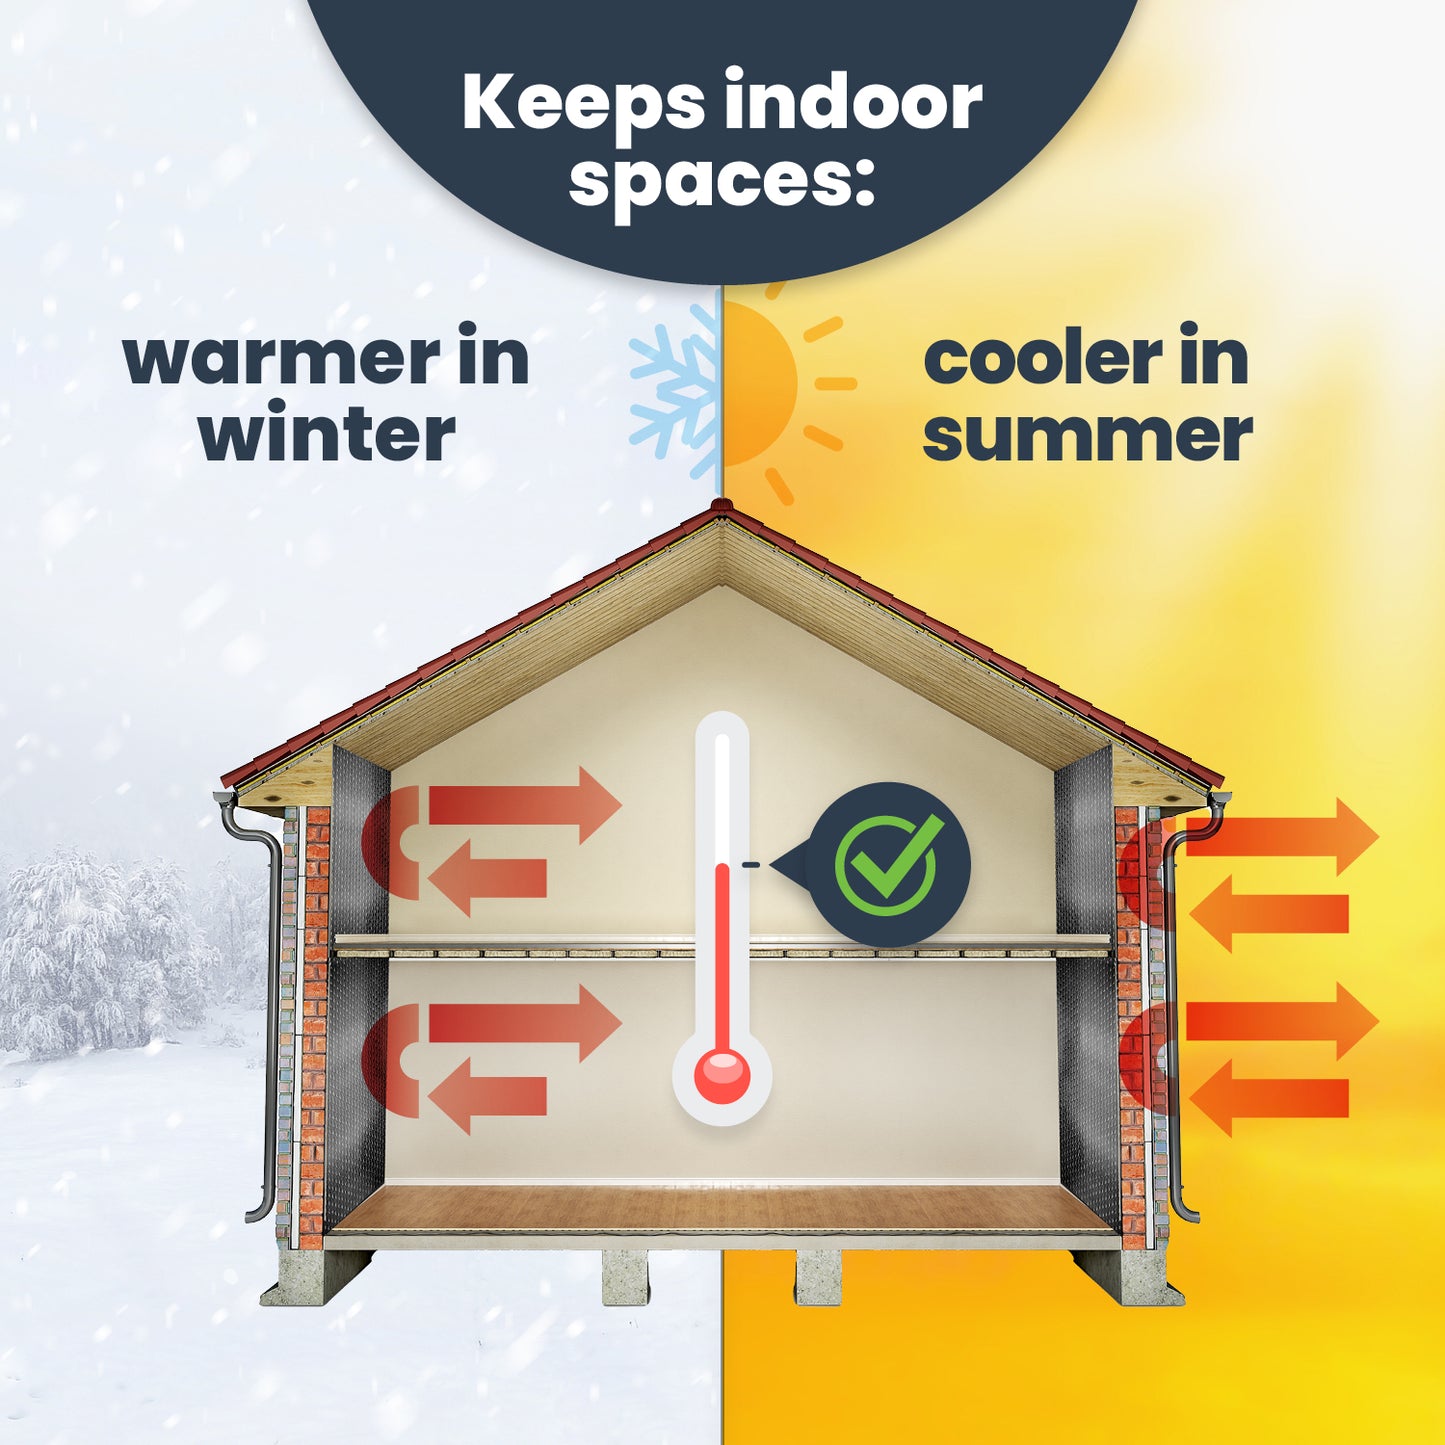
In this week’s post I want to show how easy it is to add a radiant barrier when installing a metal roof on your home. Metal roofs are becoming more popular these days because of their low impact on the environment. Many of the products available are made with a high recycled content and the material is 100% recyclable should you decide to remove it. The expected life span of a metal roof is much longer than that of traditional asphalt shingles, it's easy to maintain, and extremely durable.
In our project we left the existing shingles on. This will save time and money as well and the shingles will act as an extra layer of insulation. This is not advised if there is more than one layer of shingles because there will be too much weight stressing the framework of the home.
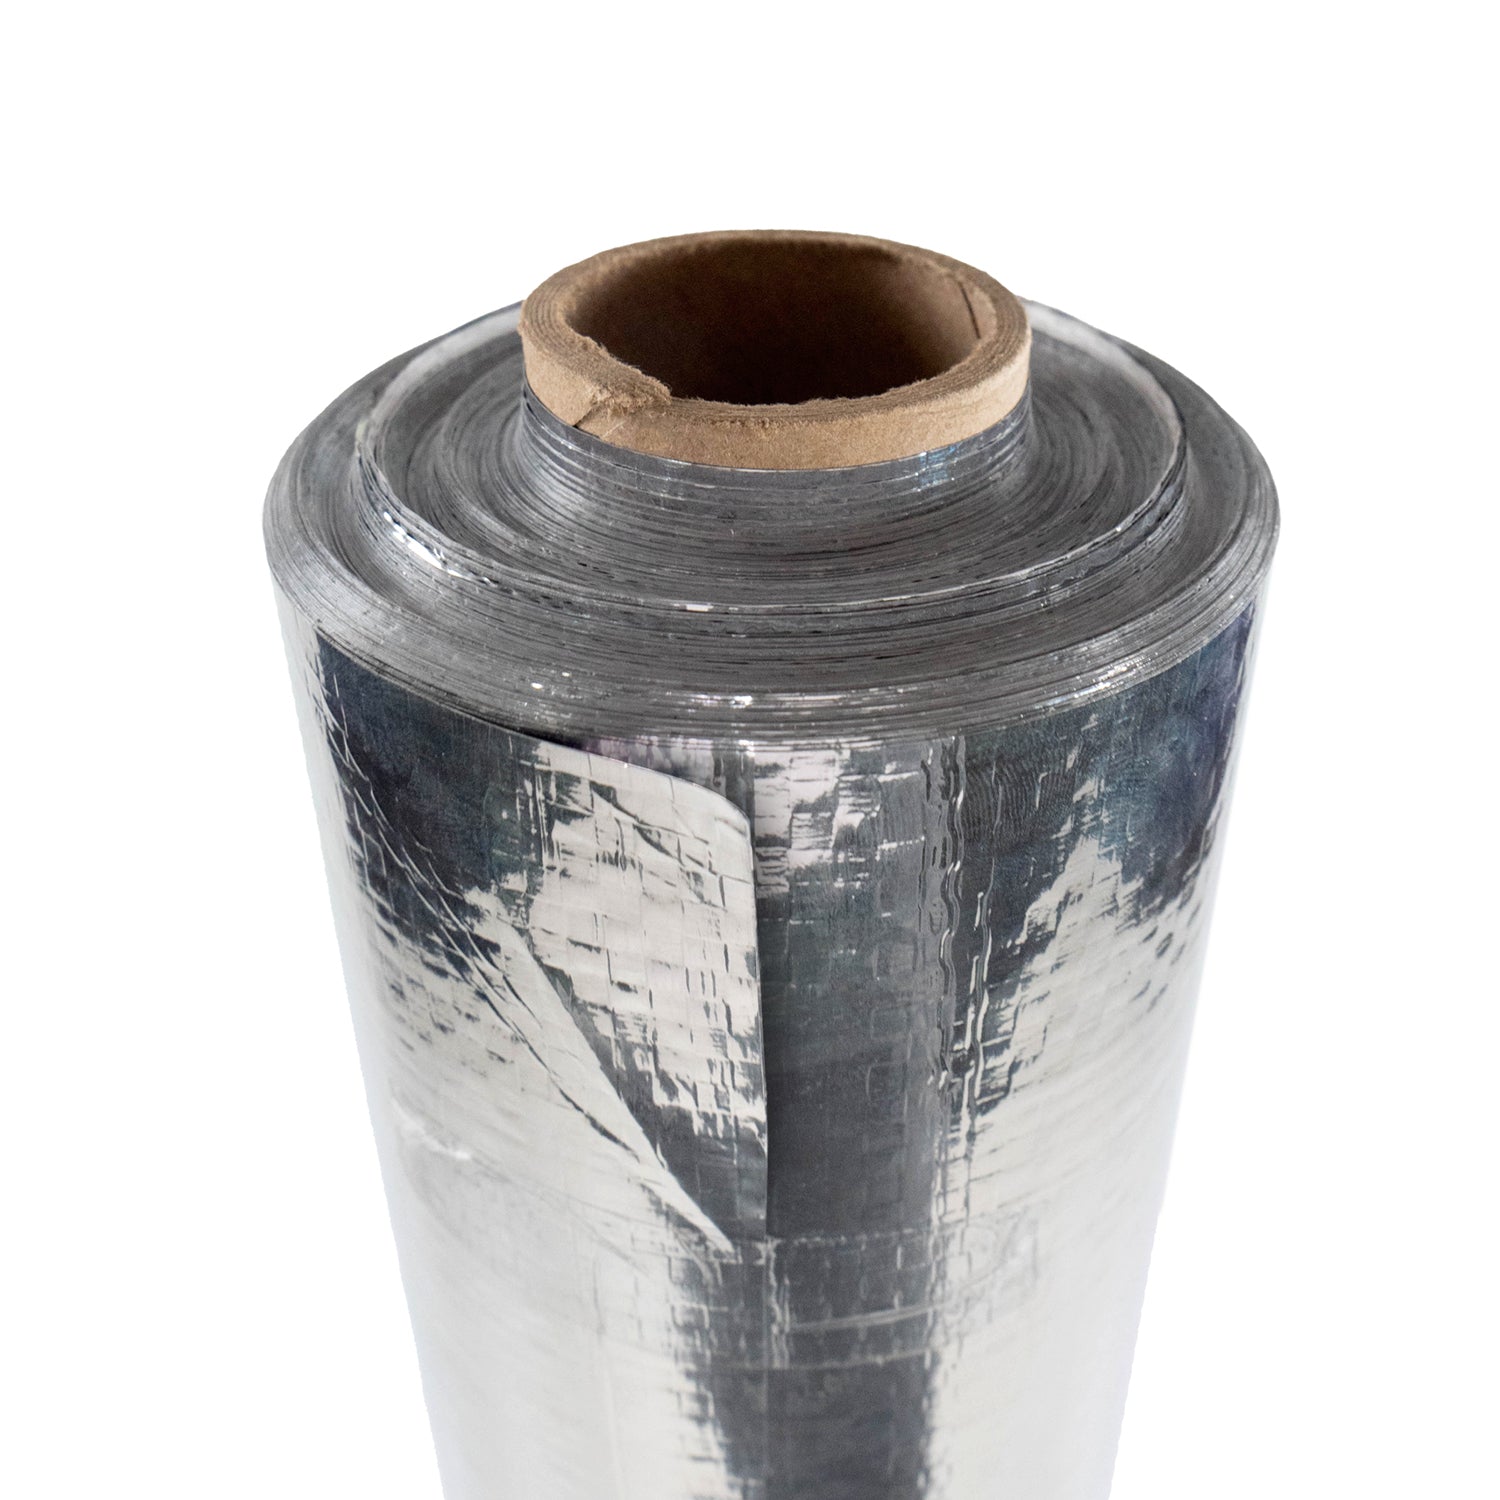
Step 1. Starting at the bottom of the roof, install the radiant barrier horizontally. Once you have a few rows of barrier down you can attach your furring strips in the same direction. These furring strips are very important because they create an air gap between the radiant barrier and the metal roof. Without this air gap the heat will simply conduct right on through to the attic.
Step 2. Continue in this manner until you reach the peak of the roof and repeat on the entire surface of the roof.
Step 3. You are now ready to install your metal roof. For more information on how to install radiant barrier products, call 888-349-3645, send us an email, or contact as via chat Monday–Friday 8am–5pm CT.